

The PCU Checker App helps you handle the PCU and MCA/YES for your YAKAP patients. Before you start, here's what it does and doesn't do.
Download the latest version here ⬇️
What it does
- Tracks whether you've already done the PCU and MCA/YES for a patient.
- Lets you quickly capture the PCU and MCA/YES during the patient's first visit.
- Lets you capture the PCU on the patient's succeeding visits. The MCA/YES is already saved, so you don't have to do that again.
What it doesn't do
- It won't auto-register a patient to your facility. If a patient is not registered to your facility, they still have to register through PhilHealth or the eGov app.
- It won't submit the PCU and MCA/YES for you. You still have to submit those separately.
Steps:
Step 1: Enter the patient's info. Use the details of the patient who will actually be doing the PCU.
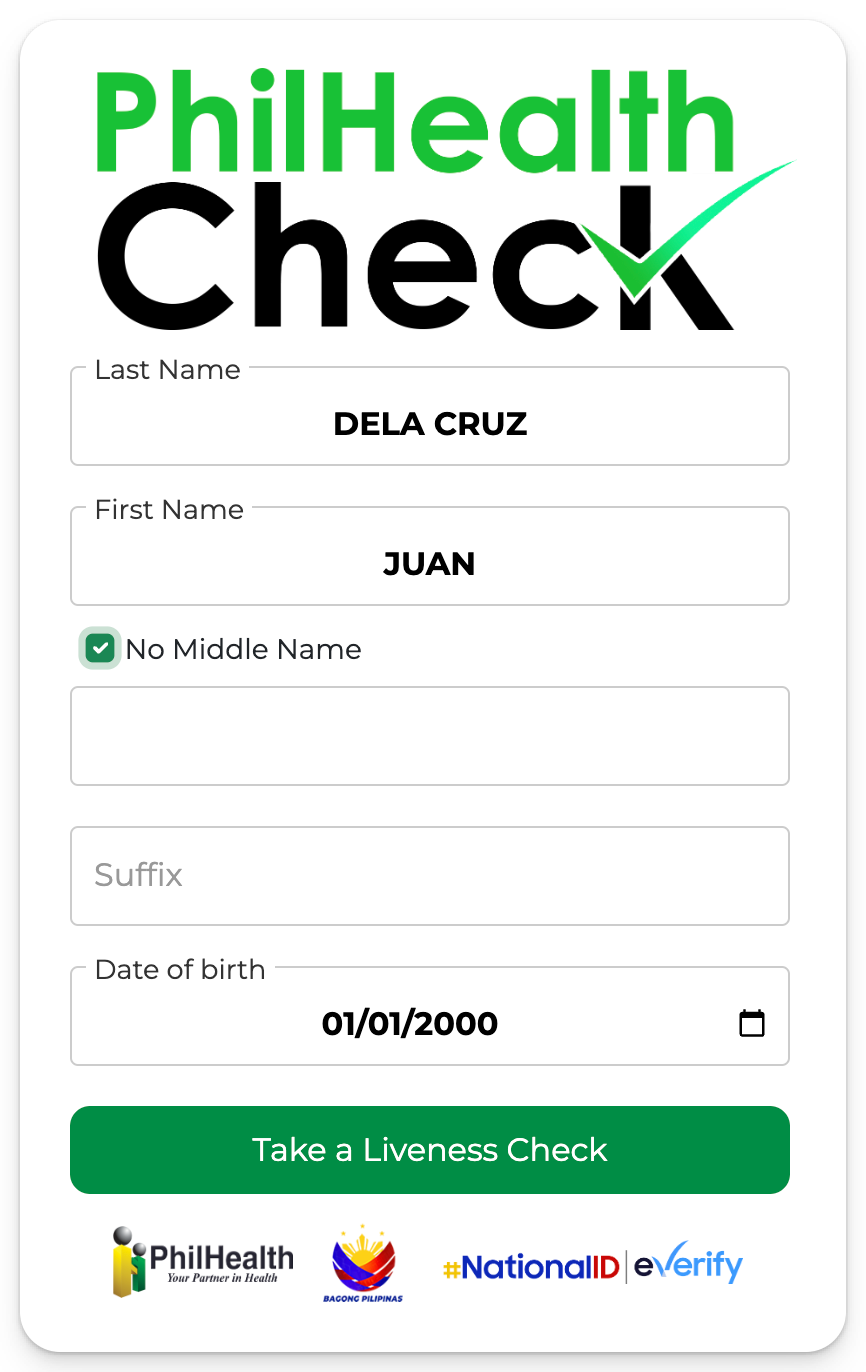
Step 2: Do the liveness check. One of two things will happen:
- Success — skip ahead to the MCA/YES section (step 5).
- Fail — proceed with Manual entry and continue to step 3.
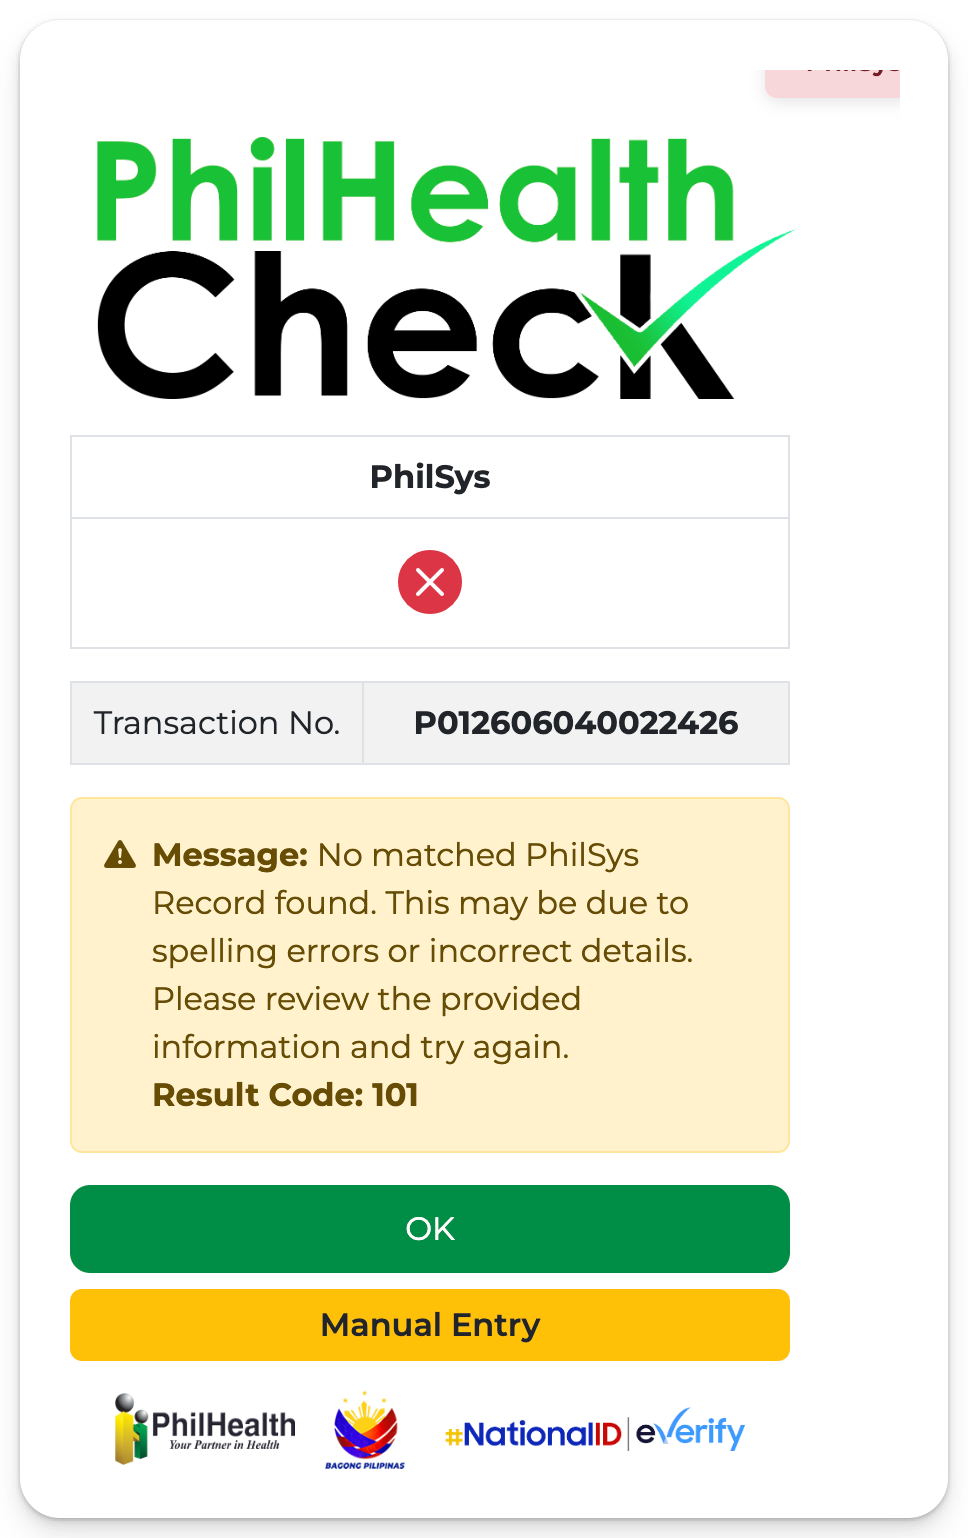
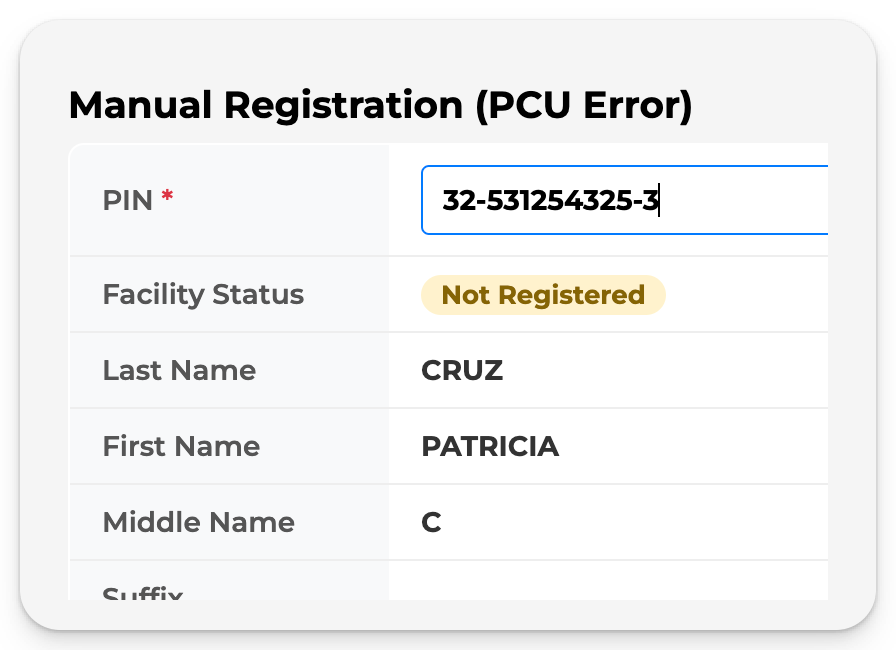
Step 3: Enter the patient's PIN. Make sure it is correct, this is very important. Then check the status:
- Registered — under YAKAP clinic, it should show your facility. You're good to continue.
- Not Registered — PAUSE. Do not continue. Either:
- have the patient register to your facility, or
- if they're registered with another facility, they can switch registered clinics. Switching has to be done with PhilHealth.
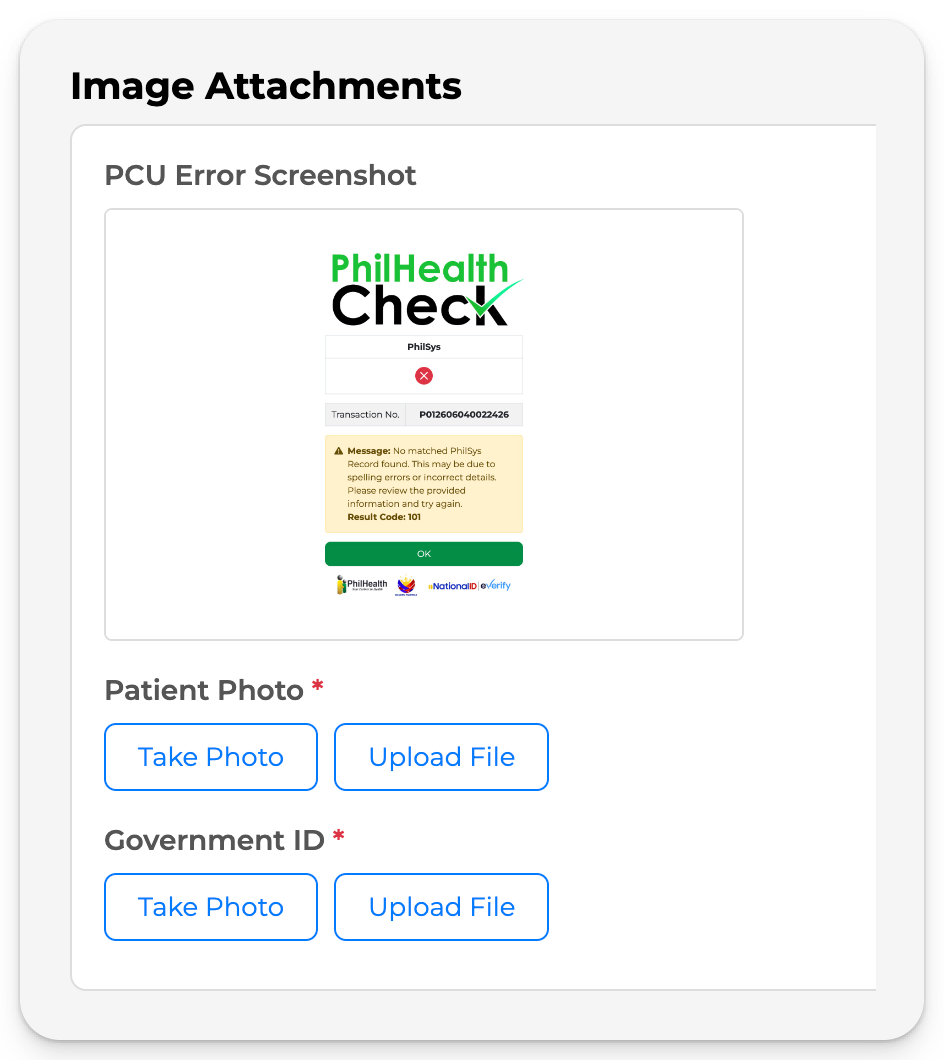
Step 4: Upload the patient's photo and valid ID. This is required when you go the PCU liveness result fails.
Step 5: MCA/YES section.
You have two ways to handle this: the new digital route through the HCI portal, or the usual physical signature. Pick the one that fits how your LHIO wants you to submit.
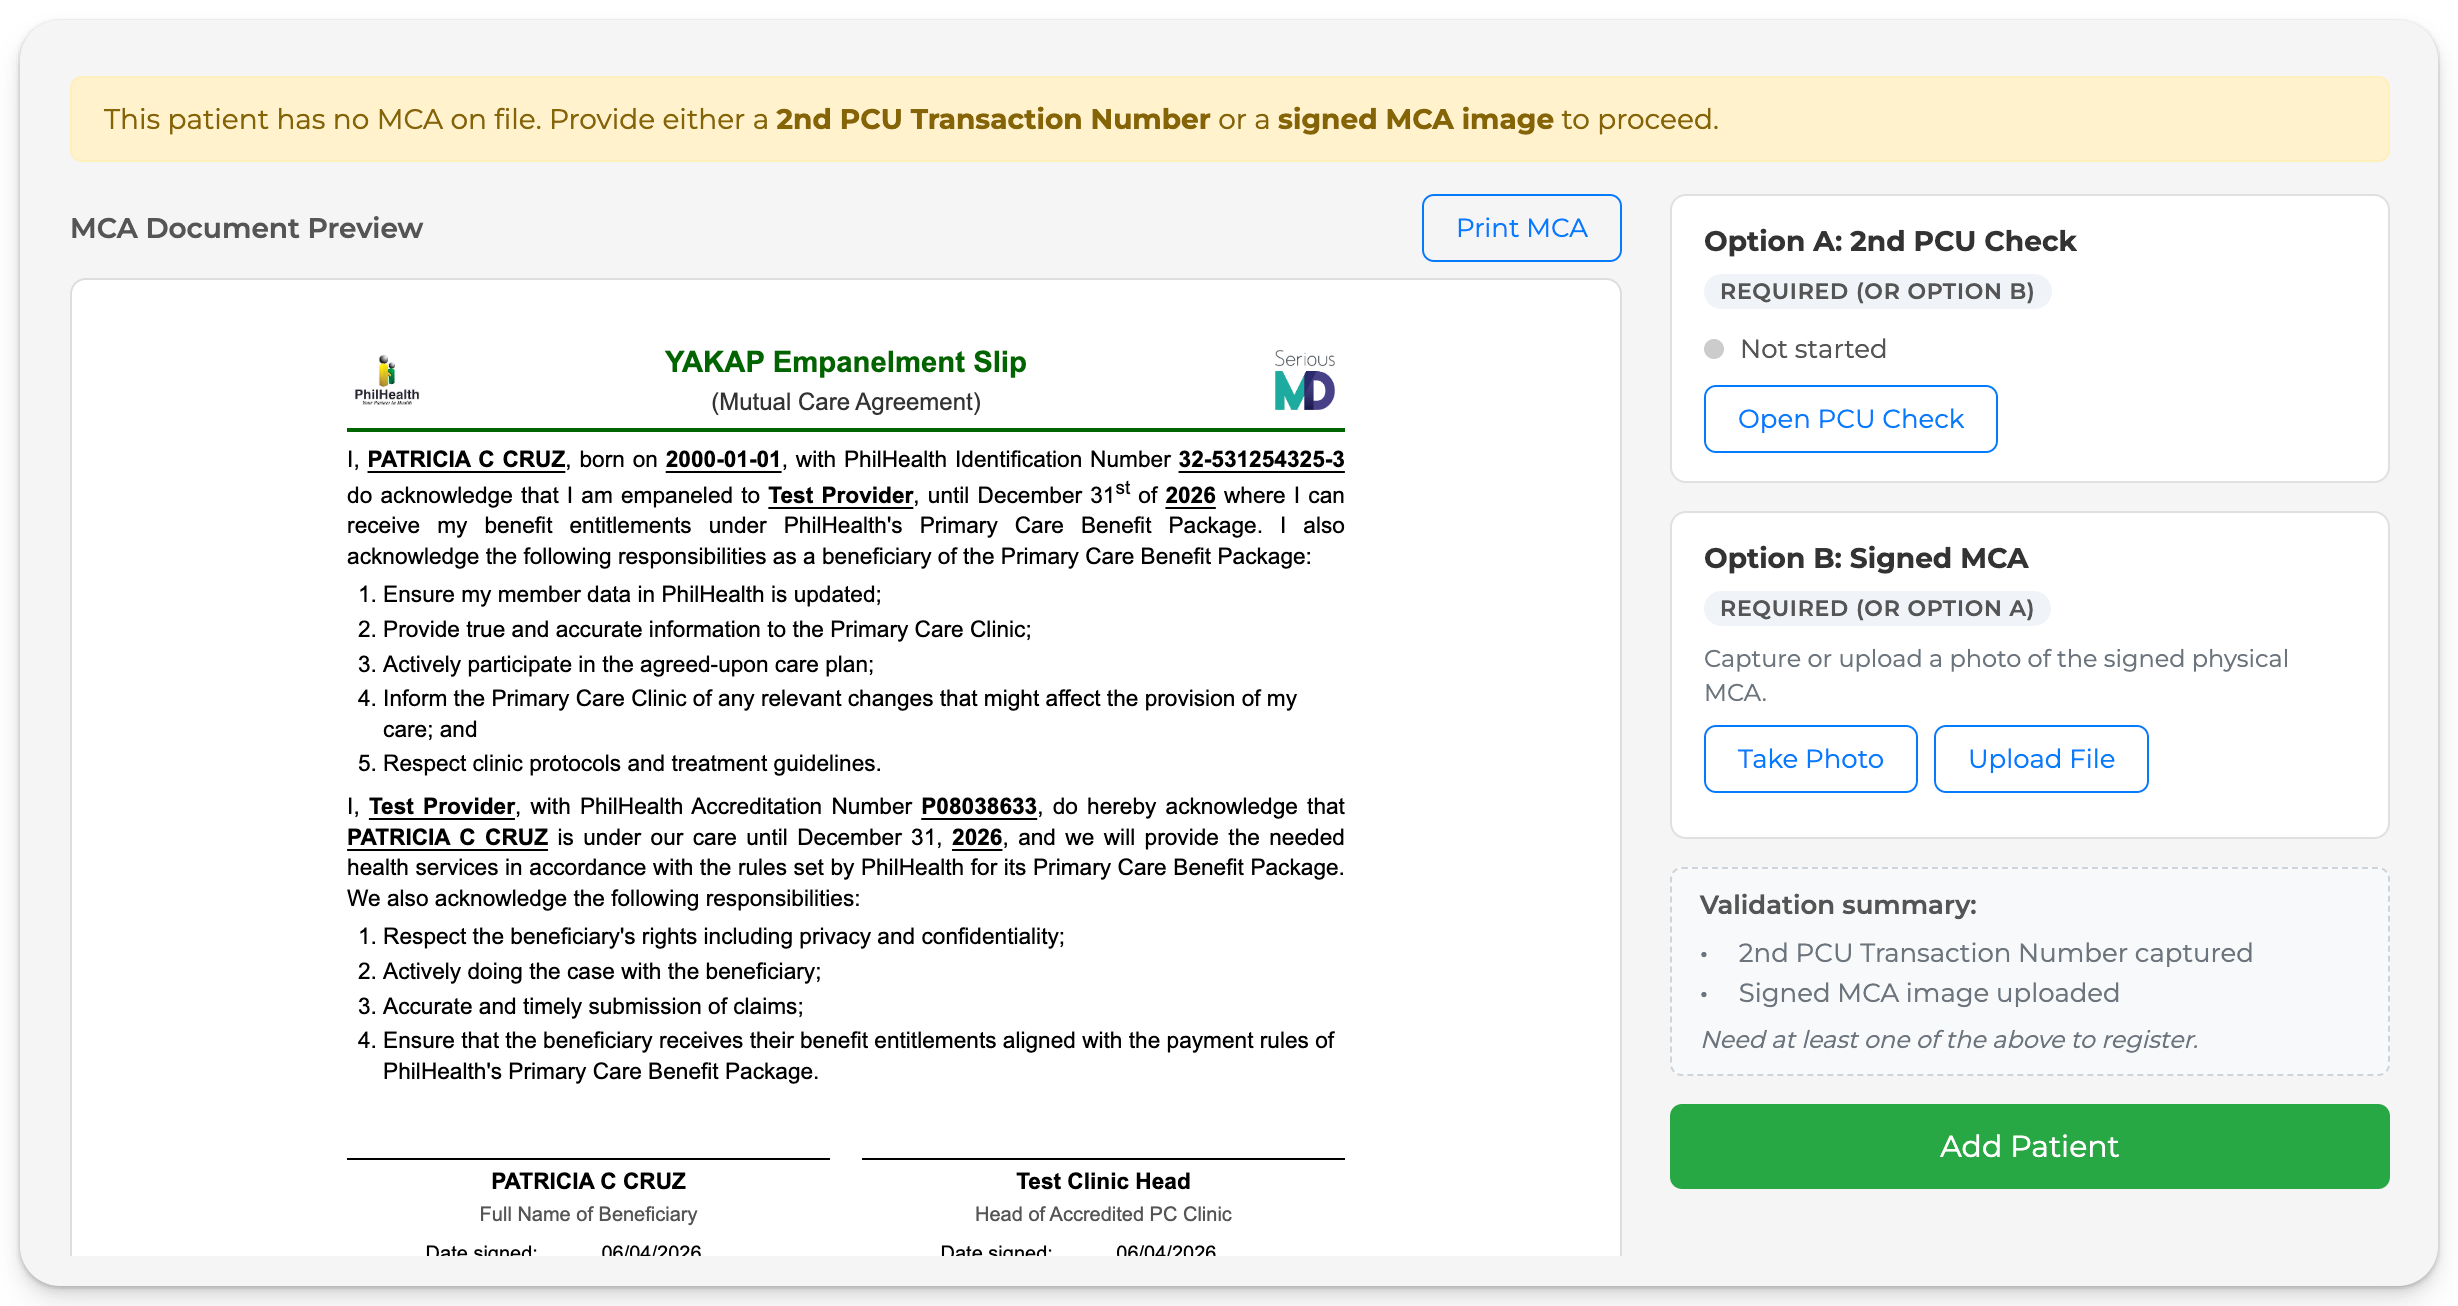
Step 6: Click Add Patient.
Step 7: Confirm it saved. Open your YAKAP account in a browser and refresh today's daily visit. The patient is now added, with the recorded PCU and MCA/YES already saved.
